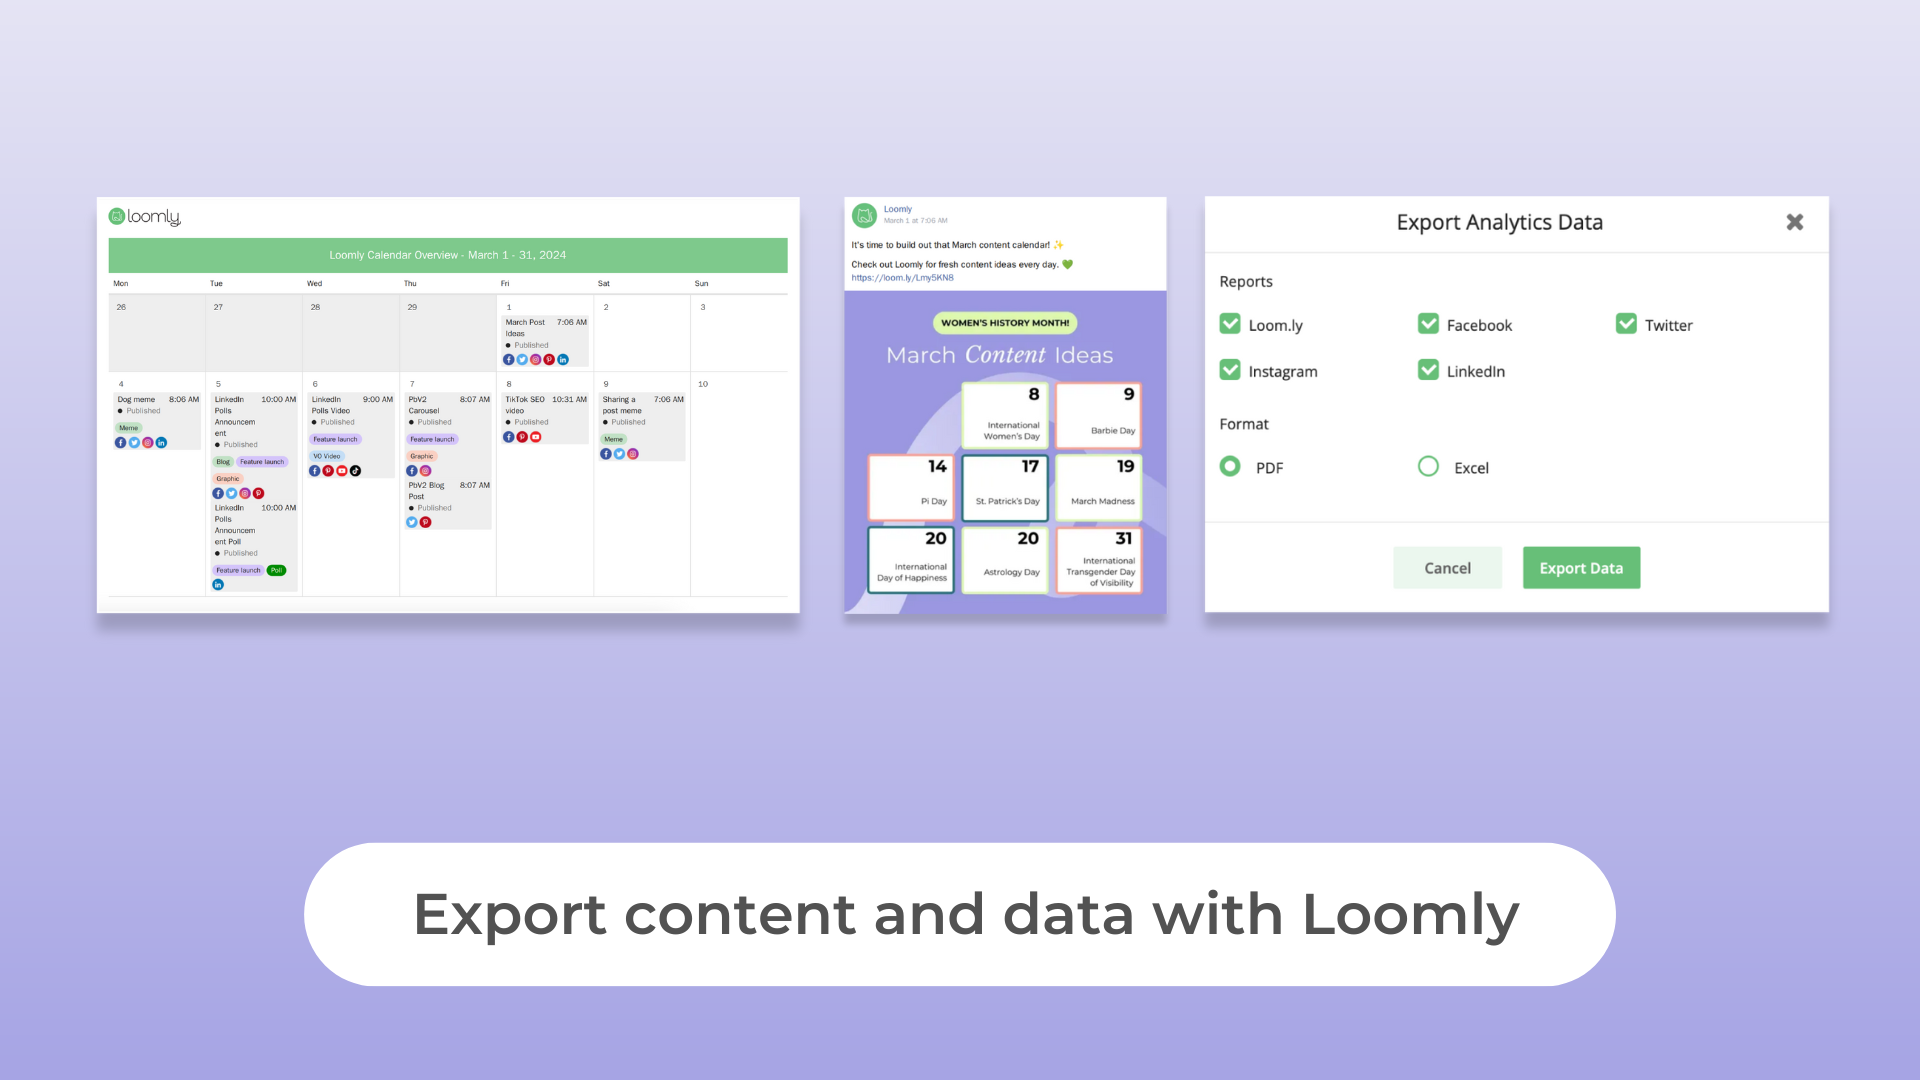
Planning, approvals, and reporting do not always happen in the same place. Loomly lets you export scheduled content and analytics when a teammate, client, or stakeholder needs to review them outside the platform.
Use a content export to share a planned calendar, review post copy, or prepare material for a presentation. Use an analytics export when you need a PDF report or a CSV file to work with data in a spreadsheet. Before exporting, check your date range and filters: Loomly applies the filters already selected in your view to the exported file.
What can you export from Loomly?
Loomly supports the following exports:
- List View: Export a PDF with posts in a chronological list.
- Calendar View: Export a PDF that shows planned content in a calendar layout.
- Post View: Export a PDF preview of one post for each social account selected for that post.
- Advanced Analytics: Export analytics as a PDF or CSV file.
Content export and Advanced Analytics are included with the Starter and Beyond plans. Scheduled Analytics Reports are included with the Beyond plan. Check the current pricing page or your billing page if you are unsure which features are enabled for your account.
Start with the decision the export needs to support. A stakeholder who needs to see the publishing rhythm needs a calendar PDF. A reviewer who needs to read copy needs a list or a single-post PDF. Someone reconciling or analyzing data usually needs a CSV. Choosing the format first keeps the file focused and reduces the chance that reviewers work from the wrong scope.
How to export Calendar and List views
Calendar View and List View answer different review questions. Choose Calendar View when people need to see the overall publishing schedule, content mix, and timing. Choose List View when reviewers need to read posts one by one and compare the copy planned for each channel.
Both views can include posts in different stages of work, from drafts and posts awaiting approval to scheduled and published posts. Decide whether the recipient needs all of those stages or only a subset before you export. For example, an approval meeting may need only posts awaiting approval, while a monthly recap may need published posts.
- Open the calendar you want to export.
- Choose Calendar View or List View.
- Apply any filters you want reflected in the export, such as a date range, post status, label, channel, or assignee.
- Select More, then choose Export Calendar.
- Choose the export format and the date range.
- Select Export to create the PDF.
Filters are useful when an approver only needs a campaign, a set of posts with a particular label, or posts waiting for approval. If posts appear to be missing from the PDF, review the filters applied to the view before exporting again.
For offline review, include a short note with the export that states the calendar, date range, filters, and what feedback is needed. That gives the recipient the same context you had when you generated the PDF and makes it easier to identify a post when they reply with comments.
How to export an individual social media post
Use a Post View export when someone needs to review a single post without opening Loomly. The PDF includes a preview for each social account selected for that post, making it useful when one post has channel-specific copy or settings.
- Open the post from Calendar View or List View.
- Open the dropdown in the top-right corner of the post.
- Select Export to PDF.
- Open or share the downloaded PDF.
Before exporting, confirm that the correct social accounts are selected and that the post contains the version you want reviewed. When feedback comes back, update the post in Loomly rather than treating the exported PDF as the working source.
A post PDF is particularly helpful when an approver only owns one decision, such as copy, creative, legal wording, or channel selection. Keep the request narrow: identify the element that needs approval and the date by which you need a response. If a post changes materially after the export, send a fresh PDF rather than asking the reviewer to compare versions from memory.
How to export social media analytics
Advanced Analytics exports are useful when different recipients need different formats. A PDF gives you a ready-to-share report. A CSV gives you data you can sort, filter, or combine with other information in a spreadsheet.
- Open the calendar whose analytics you want to review.
- Go to Analytics.
- Set the date range and any channel filters you need.
- Select Export Analytics.
- Choose PDF or CSV, then export the file.
Before you create an analytics export, write down the period and question it should answer. For example: review one month of results, compare a selected set of social accounts, or prepare a spreadsheet for a recurring internal analysis. Keeping the question and date range with the file makes later comparisons more reliable.
Advanced Analytics is available on Starter and Beyond, and Loomly asks you to have at least five scheduled posts before activating it for a calendar. Activate it early enough to collect the analytics you need for future reporting.
When to use Scheduled Reports
If the same people need a recurring analytics PDF, Scheduled Reports can send it weekly or monthly. This Beyond-plan feature lets you choose the connected social accounts to include and the recipients who should receive the report. Loomly currently allows up to three scheduled reports per calendar and up to 25 recipients per report.
To set one up, open Analytics, choose Schedule Reports, then select New Scheduled Report. Choose a weekly or monthly interval, select the connected social accounts to include, add recipients, and save the report. Weekly reports cover the previous Monday through Sunday and are sent on Tuesday. Monthly reports cover the previous month and are sent on the second day of the month.
Use a scheduled report for a recurring review cadence. Use a manual export when the date range, filters, or recipients need to change for a specific request.
Use exports to keep reviews clear
Exports work best when the file has one purpose: a calendar for timing, a list for copy review, a post PDF for a single approval, or an analytics file for reporting. Set the correct filters first, name the file clearly, and keep Loomly as the source of truth for edits and approvals.