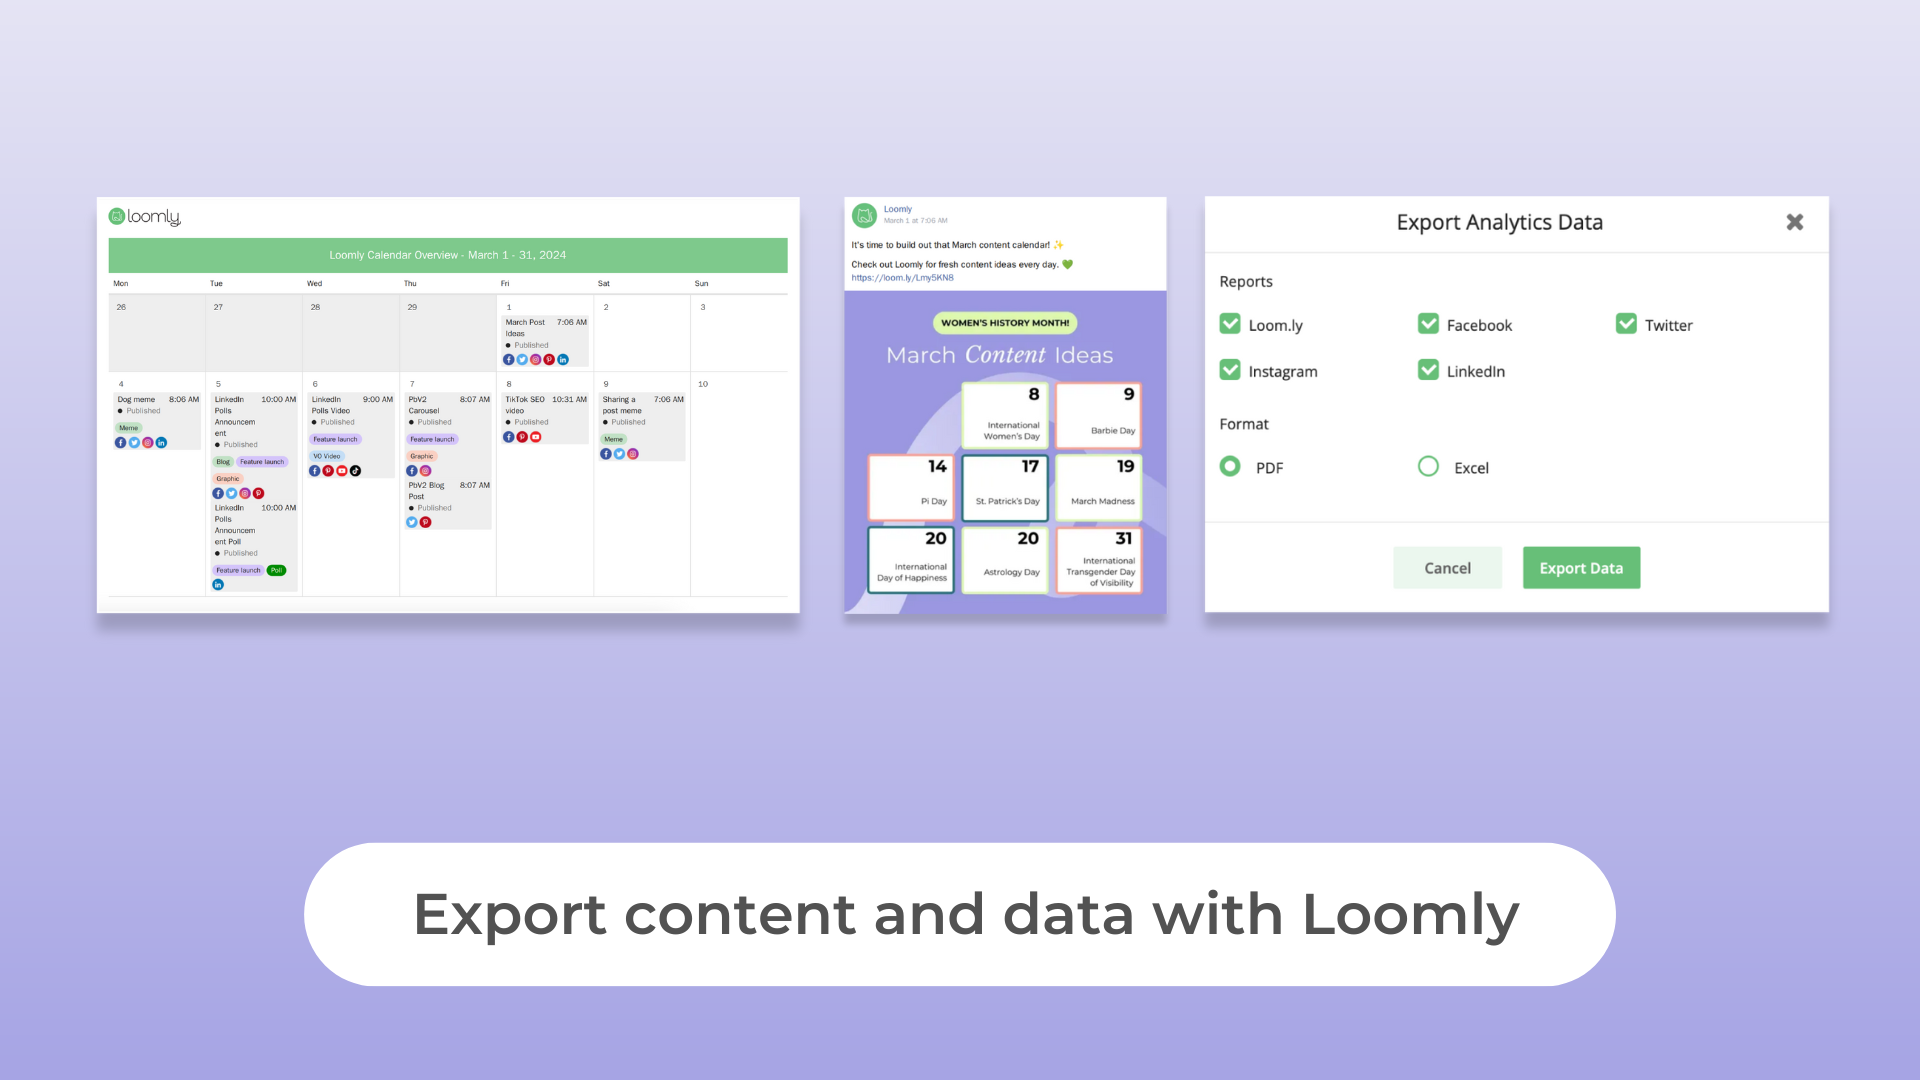
Scheduled Reports in Loomly send recurring PDF analytics reports for a calendar. When you create a schedule, you choose the reporting interval, the connected social media accounts to include, and the email recipients.
Scheduled Reports are available on higher-tier plans. They are separate from Loomly's basic analytics dashboard, which is available on every plan. Before setting up a report, make sure you are working in the correct calendar and that the connected accounts you need are available there.
What is included in a scheduled report?
A scheduled report is a PDF analytics report sent on a recurring weekly or monthly interval. You select the connected social media accounts to include when creating the schedule, so the report is configured around the services you choose for that calendar.
For each scheduled report, you can set:
- Interval: weekly or monthly.
- Services: the connected social media accounts to include.
- Recipients: the email addresses that should receive the PDF report.
You can schedule up to three reports per calendar and add up to 25 recipients to each report.
How to schedule an analytics report in Loomly
- Open the calendar whose analytics you want to report on.
- Go to Analytics.
- Select Schedule Reports in the top-right corner of the Analytics tab.
- Select New Scheduled Report.
- Choose Weekly or Monthly.
- Select the connected social media accounts to include.
- Add the recipient email addresses.
- Select Save.
Review the calendar and selected accounts before saving. A report schedule belongs to the calendar where you create it, so a schedule for one calendar does not automatically include accounts from another calendar.
When scheduled reports are sent
The interval determines both when Loomly sends the report and the period it covers:
- Weekly reports: sent on Tuesday and cover analytics from Monday through Sunday of the previous week.
- Monthly reports: sent on the second day of the month and cover the past month.
Choose the interval that matches the reporting period your recipients need. A weekly schedule provides a recurring record for the previous calendar week, while a monthly schedule provides a report for the prior month.
How to edit or delete a scheduled report
Return to Analytics and open Schedule Reports to review existing schedules for the calendar. From there, you can edit a report's interval, included services, or recipients. You can also delete a schedule when it is no longer needed.
When a team changes responsibilities, account connections, or reporting recipients, update the existing schedule rather than assuming a prior configuration still reflects the current calendar.
Before you create a schedule
- Confirm that Scheduled Reports are available on your plan.
- Open the calendar that contains the connected accounts you want to include.
- Check that the selected accounts are the intended services for the report.
- Prepare the recipient list, keeping the 25-recipient limit in mind.
- Decide whether the report should cover the previous week or the previous month.
For more detail about Analytics and Scheduled Reports, see the Loomly Analytics overview and the Scheduled Reports Help Center guide.